As Microsoft recently announced the upcoming retirement of SharePoint 2010 workflows we have seen a lot of questions about how to transition away from them before November.
In this post I will configure the Power Automate template “Request approval in Teams for a selected item in SharePoint” as a replacement for the SharePoint 2010 Approval workflow to manage Approvals in a SharePoint list or library. This is all being done in SharePoint Online inside a Microsoft 365 (Office 365) tenant.
The template will allow a user to Request approval for a specific item in a list or library. This approval will be requested via a Teams chat message, and the recipient can do the entire approval within the Teams chat.
Please be aware that this is just our preferred option for Approval using Power Automate. If you are not yet using Teams or Power Automate yet, please contact us for further information.
You should note that Power Automate will run the flow as the account which configured it, so if you have the ability to log in to a Shared Admin or Service Admin Account to configure shared workflows, then it may make more sense to do so. The account used will need to have Approval permissions on all content to be approved by the flow.
Important: Before implementing this in your Microsoft 365 environment, please ensure the SharePoint Online list or library has been configured for Approval.
Prerequisites: Microsoft 365 (Office 365) tenant access with licenses (such as M365 E3 or E5) providing access to use SharePoint Online and Power Automate.
Main topics in this article
- Create a Power Automate workflow from the list or library menu
- Configure the flow from the template
- Add steps to control SharePoint Content Approval
- Testing your flow
- Customising the flow / adding steps
Create a Power Automate workflow from the library menu
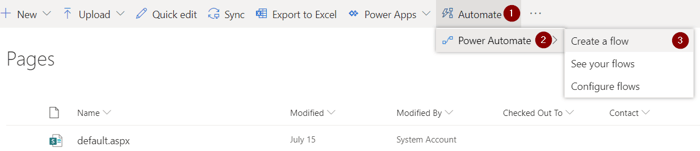
Click Automate in the library menu, then under Power Automate choose Create a flow:
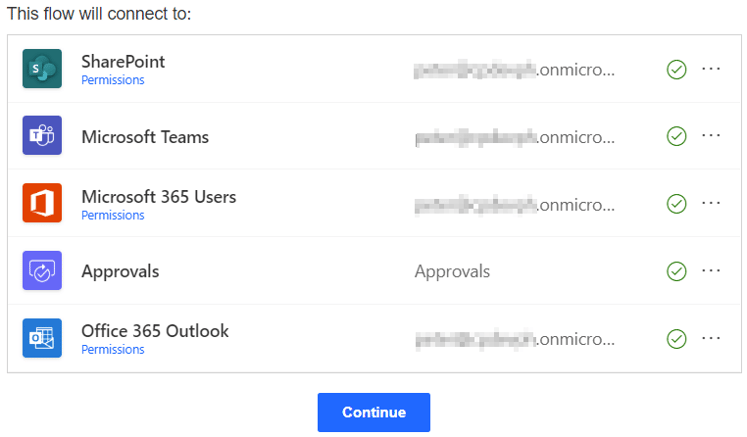
This will open a panel on the right of the page which lets you choose a Template. Choose the Request approval in Teams for a selected item in SharePoint template from this panel. This will open a new tab and take you to the Power Automate portal and load the template you clicked. Scroll down a bit to see the services this flow needs to connect to - in this case they are all Office 365 services so you should only have to wait a second to be authenticated to these services. Once each service shows the green tick icon, click Continue at the bottom to start configuring the flow:
Configure the flow from the template
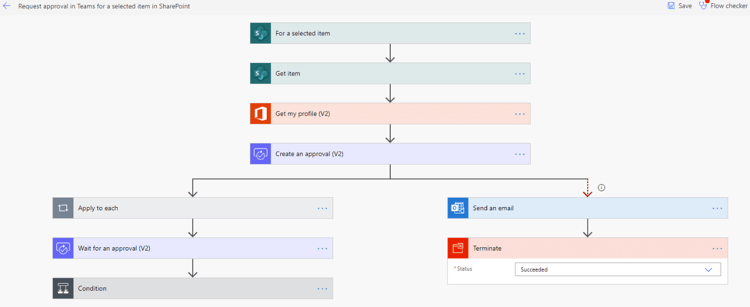
When you first see the workflow steps it may appear a little complex, but there are only a few sections that we need to look at. If you click on the coloured header of each box you can minimise them all to see the overall structure of the flow:
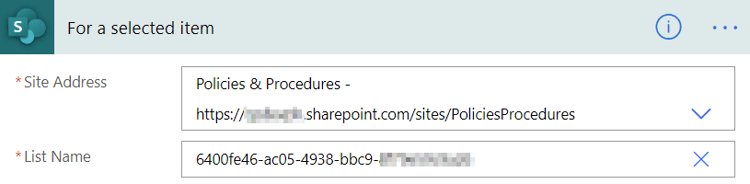
Each step has a name in the coloured bar so that we can easily refer to them in this guide. First, open up the steps For a selected item and Get item and ensure that the Site Address and List Name have been populated - this should be automatic as long as you started from the Library menu - if these are not shown you can enter them manually, or create the flow again from the correct library. Note that the "List Name" in this case will usually display a GUID when auto-populated - this is fine:
- Scroll down to the Create an approval (V2) step and expand it:
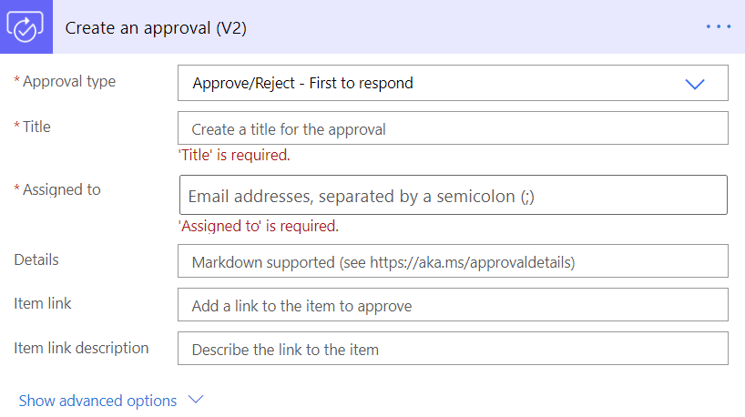
- Choose the Approval Type, fill in the Title and tag users in the Assigned to field. To give users a link to the item which they are approving, click in the Item link field and notice that the Dynamic Content panel appears. One type of Dynamic Content we can add is metadata from the specific item being approved, for example a link to the item. So scroll down in the Dynamic Content and find the SharePoint Link to item metadata:

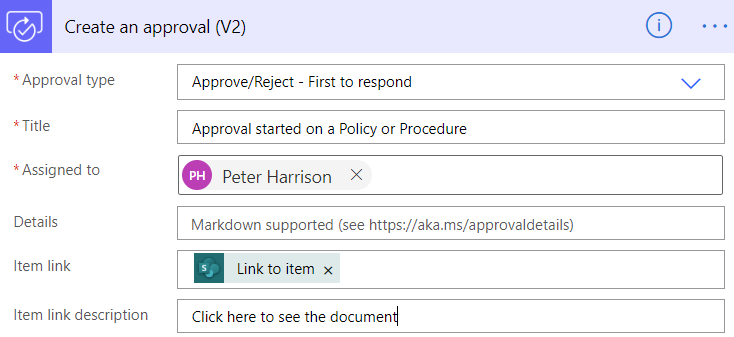
- Click this to use it in the Approval field, then add some text to be displayed for that link. You should end up with something like this:
In the menu pinned to the top of the screen, click Save to save your changes:

Add steps to control SharePoint Content Approval
The steps provided by the template are now configured, but there are some important additional steps to control SharePoint approval that are not included in the template, so we need to add them.
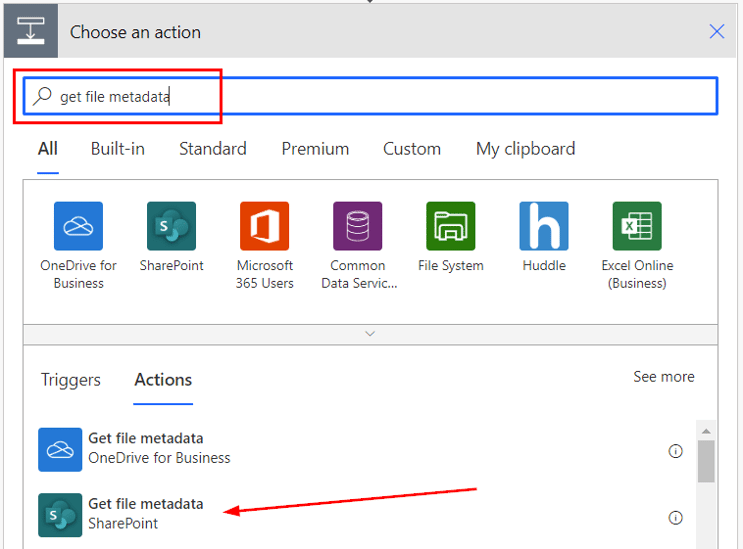
- Edit the flow and add a new step after the Get item step by clicking the + below it and clicking Add an action:

- Add the Get file metadata step - ensure you choose the SharePoint version:
- Configure the new step using the same Site Address as the Get item step, and for the File Identifier field choose the Identifier from the Dynamic Content panel as below:

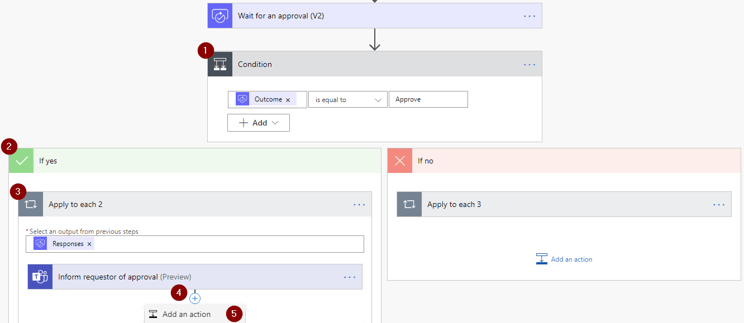
- Next, scroll down the bottom of the flow and under the Wait for an approval (V2) step expand the Condition, then expand the Apply to each step under the If yes branch. Below the Inform requestor of approval (Preview) step click Add an action:
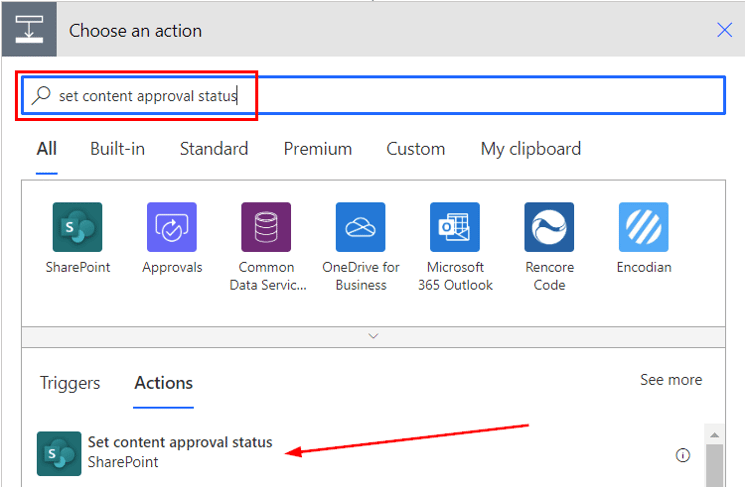
- Add the Set content approval status action:
- In this step you need to add the following information:
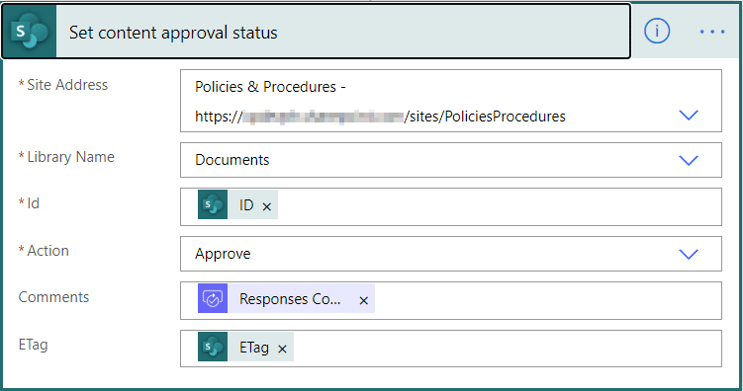
- Site Address and Library Name should be the same as the other steps
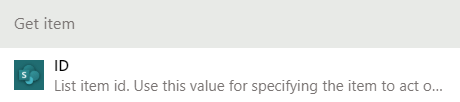
- Add the ID Dynamic Content from the Get item step:
- Choose the Action "Approve",
- In the Comments field add the Responses Comments Dynamic Content,
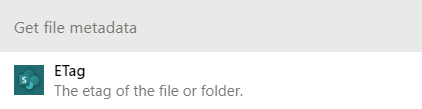
- In the ETag field add the ETag Dynamic Content from the Get file metadata step:
- Repeat steps 4 to 6 for the If no branch with the same configuration, but in the Action for the Set content approval status choose "Reject" instead of "Approve".
- In the menu pinned to the top of the screen, click Save to save your changes:
Testing your flow
If you followed the steps above, you have now configured a flow to request the approval in Teams, and added steps to the flow to manage the SharePoint Content Approval status based on the outcome. You can now start testing!
- Go back to the list or library you added this flow to.
- Select an item, then click the Submit for approval button to let SharePoint know that we will be using Content Approval on this item. If you do not see this button your library has probably not been configured:
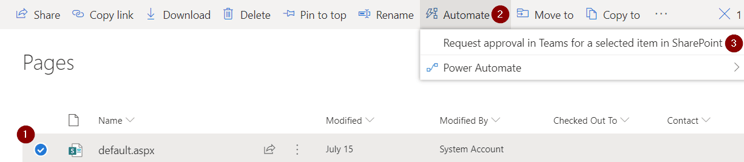
- Click the Automate button in the menu and choose the name of the flow you just configured:
- A panel will appear on the right similar to what you saw before showing the connected services. Click Continue
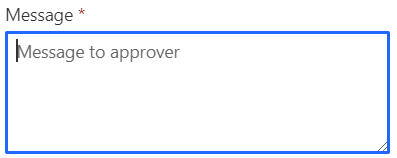
- Enter a message to the Approver:
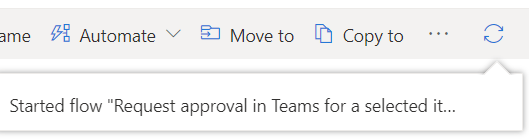
- Click Run flow. The panel will close and you'll see a confirmation in the library that your approval started:
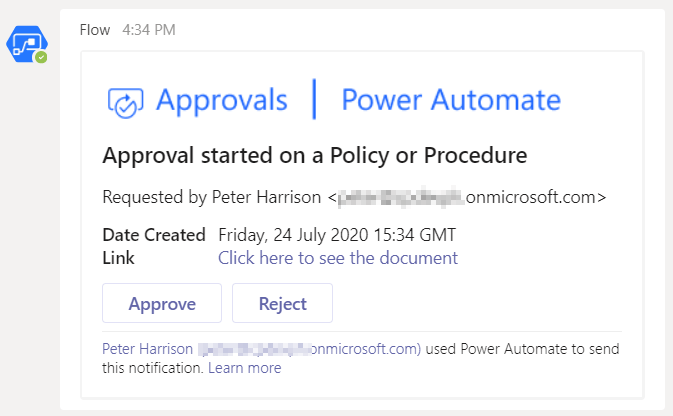
- The approver will get a message in Microsoft Teams which uses an Adaptive Card to present the approval information alongside calls to action - the link to review the item and both Approve and Reject buttons:
- The user can simply click Approve or Reject to action the item and give a comment:

- The Approval (or Rejection) will be processed automatically for them in the list or library and the item Approval Status updated.
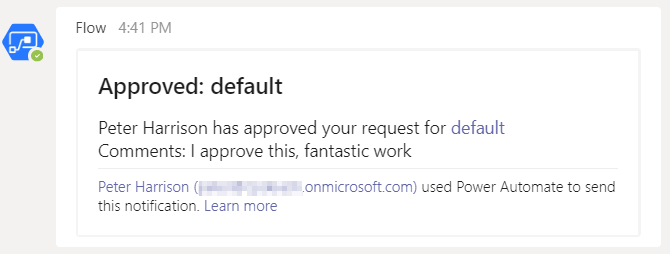
- The card in the message for both the approver and requestor updates to show this approval has been actioned. See the updated requestor card below:
Customising the flow / adding steps
If you need to add more steps to your flow, such as customising the messages shown to approvers during the process, creating SharePoint list items to store auditing information, or performing other custom actions or calls to Web Services, this is entirely possible using Power Automate and may be covered in future articles, for example adding a Send email step and creating a custom message using data from the dynamic content supplied by the other steps in the flow.
If you have a large number of document libraries that require approval you could configure the above flow using parameters to allow it to be called using a simple trigger flow in each library, however this will require some additional steps which are not covered here.
Other popular blogs